Stripped heads. Split wood. Crooked joints. You followed the “easy steps” online—and still ruined your project. Sound familiar? Most tutorials skip the gritty details that actually determine success or failure. Here’s how to use wood screws like a seasoned carpenter—not a weekend guesser.
Why Most DIYers Fail with Wood Screws (And How to Avoid It)
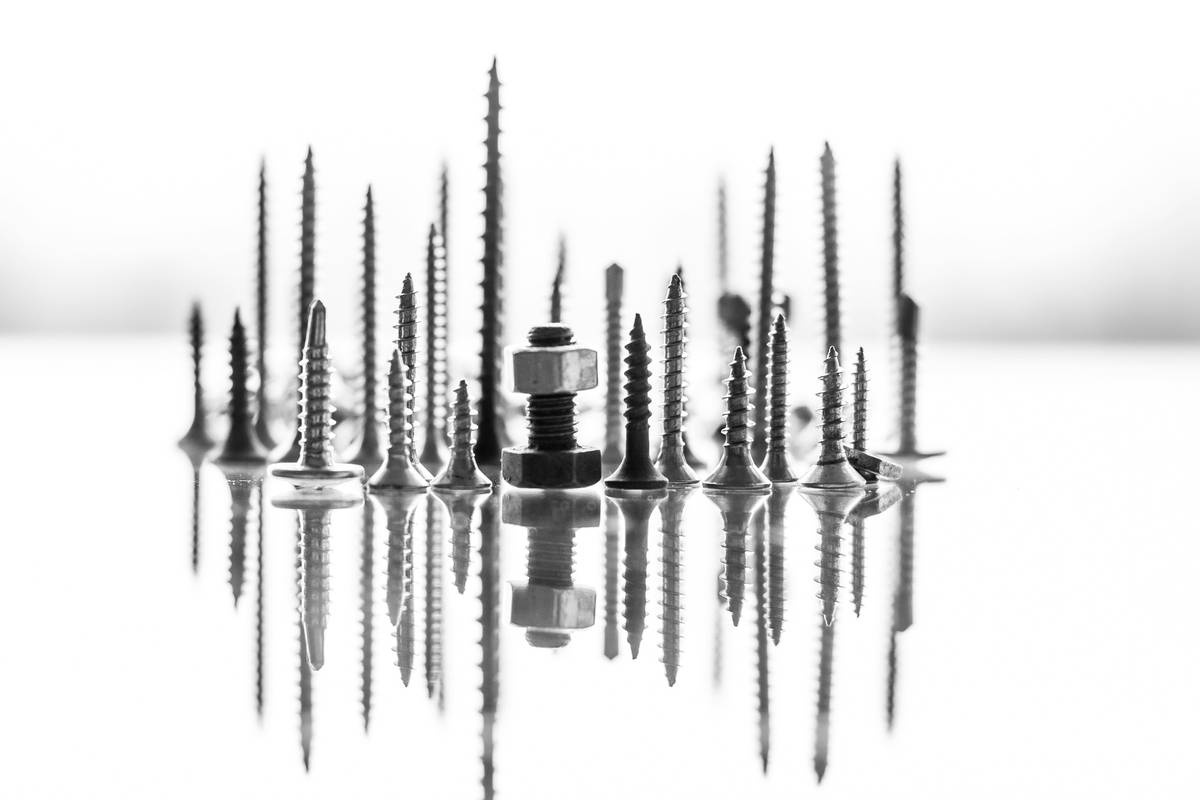
Poor pilot holes. Wrong screw type. Ignoring grain direction. These aren’t minor oversights—they’re structural time bombs. And drywall screws? Don’t even think about it. They snap under shear stress. Real wood screws have tapered shanks and sharp threads designed for bite, not just penetration.
Wood moves. Screws don’t. That mismatch causes cracks if you force it. You need clearance holes where needed, pilot holes sized correctly, and the right drive type to prevent cam-out. Ignore any of these? Your joint fails—eventually.
How to Use Wood Screws: Step-by-Step Precision
Forget “just drill and twist.” Accuracy here separates pros from amateurs. Follow this sequence—every time.
Choose the Right Screw First
Not all wood screws are equal. For hardwoods like oak or maple, go with fine-thread screws. Softwoods like pine? Coarse-thread grips better. Length matters too: the screw should penetrate the receiving board by at least half its thickness—but never poke through.

Drill Pilot Holes (The Non-Negotiable Step)
Skipping this is why your deck joist split last summer. The pilot hole diameter must match the screw’s core (not the thread). Too small? Wood cracks. Too big? No holding power. Use a stepped drill bit or mark your bit with tape for depth control.
Countersink for Flush or Recessed Finishes
If you want the screw head flush—or hidden beneath the surface—you need a countersink. But don’t overdo it. A shallow recess prevents tear-out while allowing clean covering with plugs or putty.
Drive with Torque Control
Cordless drills save time—but they strip heads fast if you’re careless. Set your clutch. Start slow. Stop the second resistance spikes. Better yet: finish by hand with a quality driver bit that fits snugly.
| Screw Type | Best For | Pilot Hole Size (Hardwood) | Max Penetration Depth |
|---|---|---|---|
| Coarse-Thread #8 | Pine, Fir, Cedar | 7/64″ | 2x material thickness |
| Fine-Thread #8 | Oak, Maple, Walnut | 1/8″ | 1.5x material thickness |
| Deck Screw (PT-rated) | Outdoor framing | 5/64″ (self-tapping often sufficient) | Full length minus 1/4″ |
The Industry Secret: Pre-Lubricate for Hardwoods
Here’s something you won’t find in hardware store pamphlets: rub beeswax or paraffin on the screw threads before driving into dense hardwoods. It reduces friction by up to 40%—preventing breakage and ensuring full thread engagement without splitting. Contractors do this on high-end cabinetry. You should too. And no, soap isn’t a good substitute—it attracts moisture and corrodes fasteners over time.
Frequently Asked Questions
Should I pre-drill every wood screw hole?
Yes—for hardwoods, end grain, or near edges. Skipping it risks splitting. In softwoods away from edges, you might get away without it—but why gamble?
Can I reuse a stripped wood screw hole?
Not reliably. Fill it with toothpicks and wood glue, let it cure, then redrill. Better yet: shift the joint slightly and start fresh.
What’s the difference between wood screws and deck screws?
Deck screws are coated for corrosion resistance and often self-tapping. Wood screws prioritize holding strength in dry indoor environments. Never swap them blindly.