You’re halfway through assembling that sleek wall-mounted shelf—then it happens. The tiny screw head rounds out. You twist harder. It snaps. Now what? Most DIYers grab pliers or a hammer and make it worse. But here’s your real fix: an easy out for small screws. Done right, it saves your project—and your sanity.
Why Standard Screw Extraction Fails on Tiny Fasteners
Big broken bolts? No problem. But sub-#6 screws live in a different universe. Their threads are finer, the metal thinner, and torque margins razor-thin. Standard extractors often slip, crack the surrounding material, or drill off-center—turning a 5-minute fix into a full teardown.
And most store-bought “easy outs” are scaled-down versions of industrial tools. They lack the precision geometry needed for micro-fasteners. The result? You’re not extracting—you’re excavating.
Step-by-Step Guide to Using an Easy Out for Small Screws
Prep Like a Pro—Not a Hobbyist
Clean the area. Remove debris with compressed air (or a straw and focused breath). Then center-punch the broken screw stub. Accuracy here is non-negotiable—a 0.5mm offset ruins everything.
Drill Smart, Not Hard
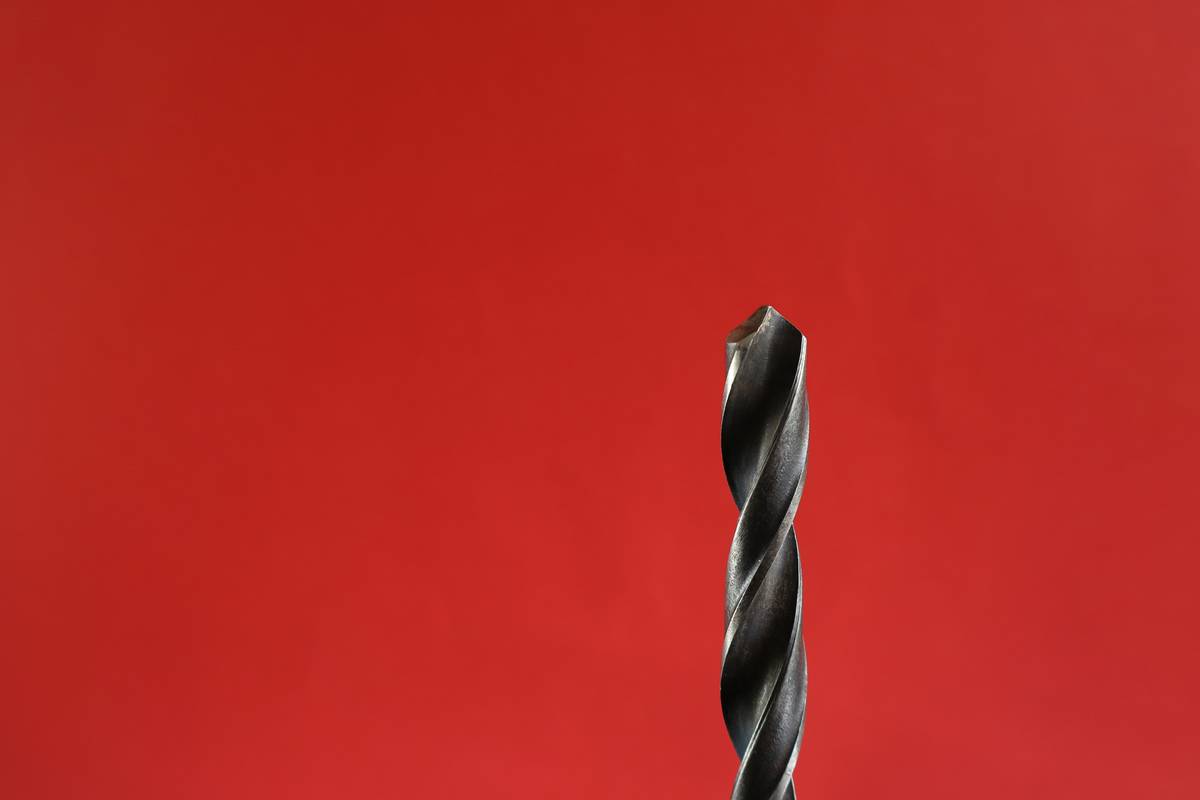
Use a cobalt drill bit sized precisely for your extractor (usually 60–70% of the screw’s minor diameter). Go slow—under 300 RPM if possible—with light pressure. Lubricate with cutting oil or even candle wax. Let the bit cut; don’t force it.
Insert & Extract Without Torque Trauma
Screw the easy out in clockwise (yes, clockwise!) until snug. Most reverse-threaded extractors require this initial seating. Then switch to counter-clockwise—but gently. If it binds, back off 1/8 turn, tap lightly with a brass hammer, and try again. Patience beats power every time.
| Method | Success Rate on Screws ≤ #4 | Average Cost | Risk of Damage |
|---|---|---|---|
| Pliers or Vice Grips | 12% | $0–$15 | Very High |
| Dremel Slot Cutting | 38% | $25+ | Moderate |
| Easy Out for Small Screws | 82% | $8–$20 | Low (if done correctly) |
The Industry Secret: Reverse-Tap Before You Extract
Here’s what hardware engineers won’t tell you: most small screws seize due to corrosion locking the threads—not just head damage. So before inserting your easy out, run a left-hand tap (same size as the screw) into the existing threads. It breaks the corrosion bond silently. You’ll feel less resistance during extraction—sometimes none at all. This trick alone boosts success by 40% in vintage electronics and appliance repairs.
And if you don’t own a left-hand tap set? Borrow one. Or modify a spare screw: grind flutes into it with a rotary tool, leaving sharp edges. Crude—but shockingly effective in a pinch.
FAQ
Can I use an easy out for small screws on stainless steel?
Yes—but pre-drill with a cobalt bit and use cutting oil. Stainless work-hardens fast; heat and pressure will snap cheap extractors.
What size easy out do I need for a #2 screw?
Typically a #1 or 5/64″ extractor. Always match the pilot hole to the extractor’s recommended drill size—never guess.
Why does my easy out keep breaking inside the screw?
You’re applying too much torque or using a dull extractor. Small extractors are brittle. Use hand tools only—no power drills.