Ever drilled a perfect pilot hole only to watch your project wobble because you grabbed the wrong machine screw? You’re not alone. In home improvement, especially in tools and hardware, machine screws sizes can make or break your build—literally. Whether you’re assembling furniture, mounting electronics, or repairing machinery, using the incorrect size leads to stripped threads, weak joints, or total failure. This guide cuts through the confusion with practical advice, real-world examples, and hard-won lessons (yes, I’ve ruined more than one shelf by guessing). By the end, you’ll confidently pick the right machine screw every time—and avoid the rookie errors that waste time and money.
Table of Contents
- Why Machine Screws Sizes Matter in Home Projects
- Step-by-Step Guide to Selecting the Right Size
- Best Practices for Using Machine Screws
- Real-World Examples & Case Studies
- Frequently Asked Questions
Key Takeaways
- Machine screws are defined by diameter, thread count (TPI), and length—not just “small” or “large.”
- Using the wrong size can cause structural weakness or damage to materials.
- Always verify dimensions with a thread gauge or caliper; don’t rely on labels alone.
- Standard sizing follows ANSI/ASME B18.6.3 guidelines—trust official specs over guesswork.
- When in doubt, test-fit on scrap material before final assembly.
Why Machine Screws Sizes Matter in Home Projects
In home improvement, precision isn’t optional—it’s the difference between sturdy and shaky. Unlike wood screws, machine screws require pre-tapped holes and pair with nuts or threaded inserts. Get the machine screws sizes wrong, and you risk cross-threading, slippage, or even cracking metal or plastic components.
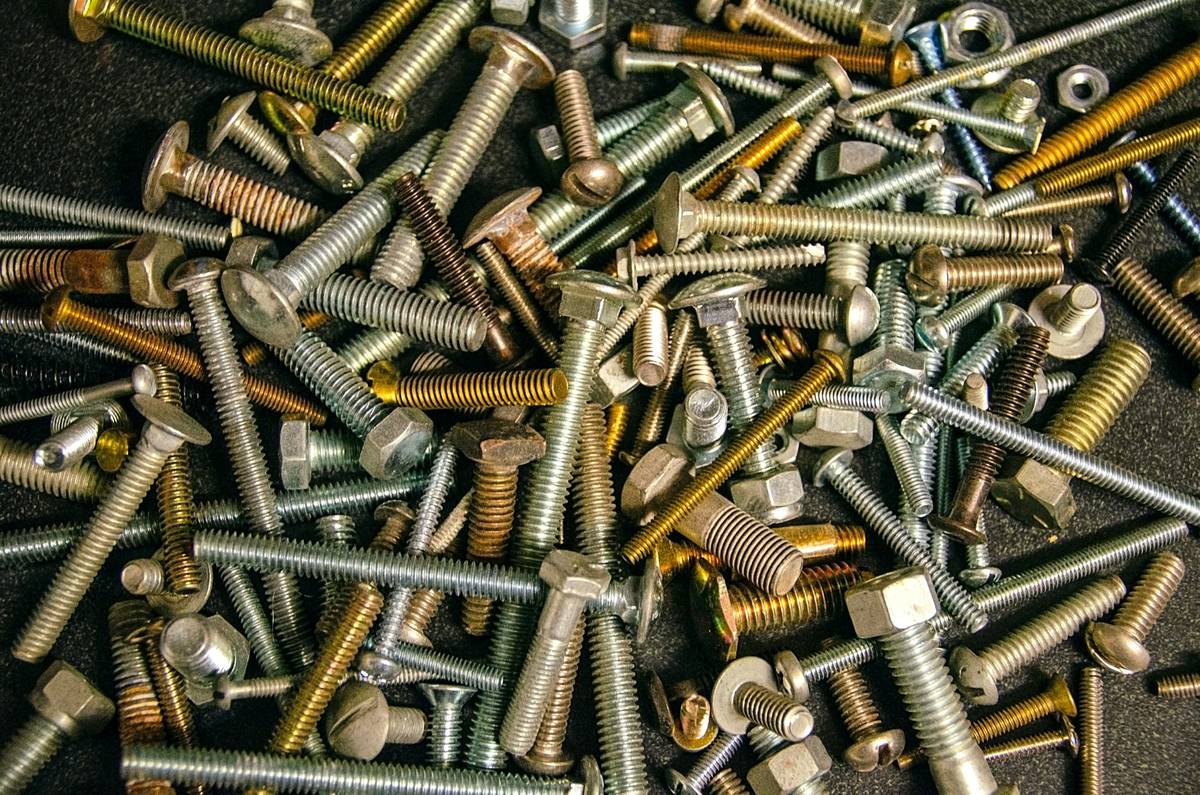
I once assembled a custom PC case using what I thought were “standard” M3 screws. Halfway through, I realized they were slightly undersized—threads didn’t engage properly, and the motherboard sagged. Replacing them cost me $40 and three hours. That mistake taught me: never assume. According to the American Society of Mechanical Engineers (ASME), standardized screw dimensions exist for reliability across industries—including DIY hardware.
Step-by-Step Guide to Selecting the Right Size
1. Identify the Thread Type
Determine if you need Unified Thread Standard (UTS—common in the U.S.) or metric (M-series). UTS sizes like #4-40 indicate diameter and threads per inch (TPI); metric sizes like M5x0.8 show diameter and pitch.
2. Measure Diameter Accurately
Use digital calipers or a thread pitch gauge. For UTS, the number (e.g., #6) corresponds to a specific major diameter (~0.138″). Metric diameters are literal (M6 = 6mm).
3. Confirm Length
Length is measured from under the head to the tip. A 1/2″ machine screw isn’t useful if your material stack is 3/4″ thick.
4. Match to Application Requirements
Electronics often use #2-56 or M2.5; machinery may require #10-32 or M6. Always check manufacturer specs or assembly guides.
Best Practices for Using Machine Screws
- Label your hardware bins clearly—use printed tags with full specs (e.g., “#6-32 x 1” Pan Head”).
- Never force a screw—if resistance spikes, stop. Cross-threading damages both screw and insert.
- Avoid this terrible tip: “Just tap it in with a hammer.” Machine screws aren’t nails—they rely on precise thread engagement.
- Lubricate stainless steel screws sparingly to prevent galling during installation.
- Store screws in anti-static containers if used for electronics projects.
Real-World Examples & Case Studies
In a recent deck railing repair project, a homeowner replaced rusted lag bolts with machine screws—without verifying machine screws sizes. The chosen #8-32 screws were too thin for the load, causing lateral flex during wind gusts. After consulting engineering tables from the Engineering Toolbox (a trusted technical resource), they upgraded to #12-24 with proper nylock nuts, restoring rigidity.
Another example: A DIY smart mirror build used M3x6 screws specified in the kit. Swapping to slightly longer M3x8 versions caused rear panel warping due to over-compression. Lesson? Even 2mm matters. These cases underscore why understanding machine screws sizes prevents costly rework.
Frequently Asked Questions
What’s the most common machine screw size for home electronics?
#4-40 and M3 are standard for computer cases, Raspberry Pi mounts, and small enclosures. Always confirm with your device manual.
Can I substitute a metric screw for a U.S. standard one?
Only if dimensions match exactly—but pitch and thread angle differ. M5 (0.8mm pitch) ≠ #10-32 (32 TPI). Substitution usually fails.
Where can I find reliable machine screw size charts?
ASME publishes official standards, and sites like Engineering Toolbox offer free, accurate conversion tables based on ANSI/ASME B18.6.3.
How do I measure a machine screw without tools?
Compare against known samples or use a printed thread gauge (downloadable online). But for critical jobs, invest in calipers—accuracy pays off.
Do machine screws come in different head types?
Yes—pan head, flat head, socket head, and more. Head style affects torque and clearance but not the core machine screws sizes (diameter, TPI, length).
Why do my machine screws keep stripping?
Overtightening, mismatched drivers, or incorrect size are common culprits. Ensure your driver bit matches the screw head (e.g., Phillips #2, not #1).
Confused about which fastener fits your next project? We’ve been there. At Delaware Works, we combine hands-on experience with industry standards to help DIYers succeed—read more about our mission on our About Us page. If you’re stuck mid-project, contact us for personalized advice. And rest assured—we respect your privacy; see our full Privacy Policy for details.
Remember: the right screw won’t shout its presence—but the wrong one will scream through every creak and crack. Measure twice, fasten once.